


Answers to the quiz
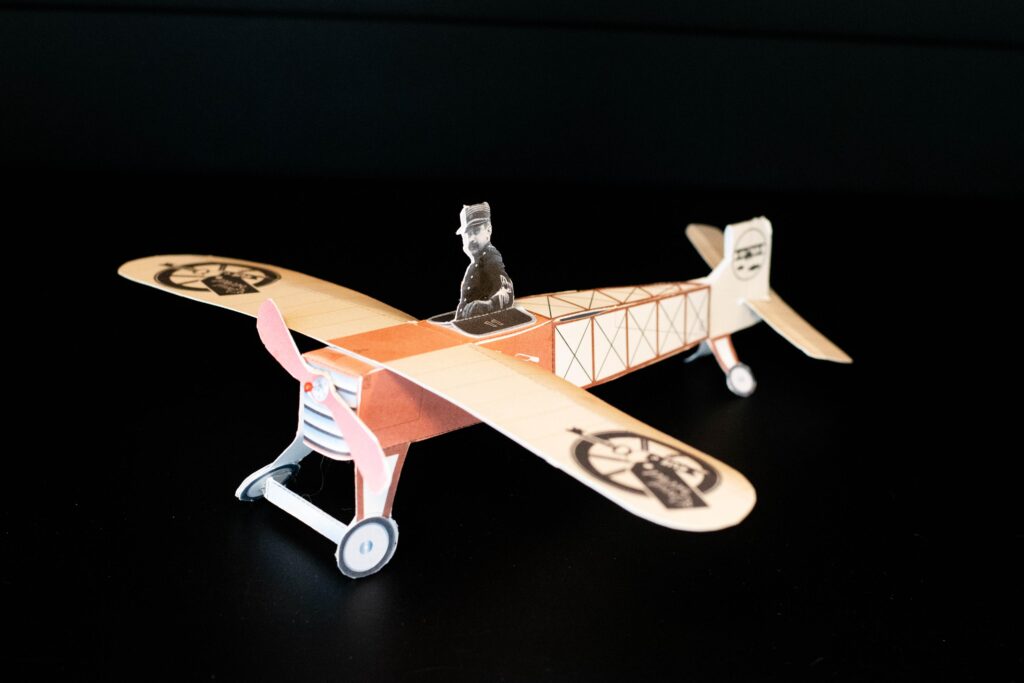
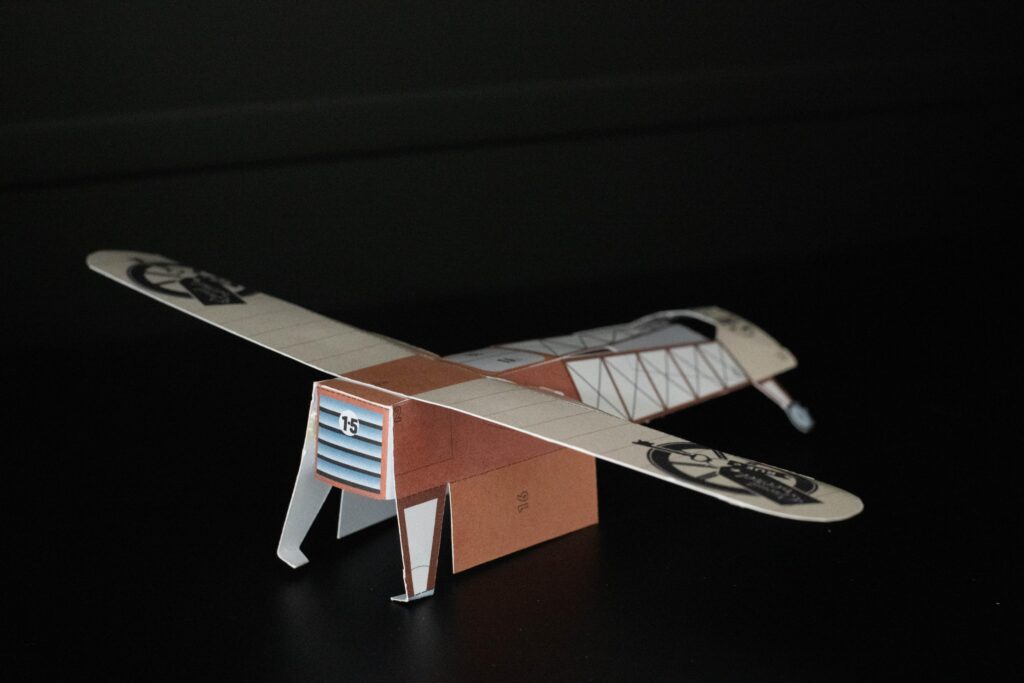
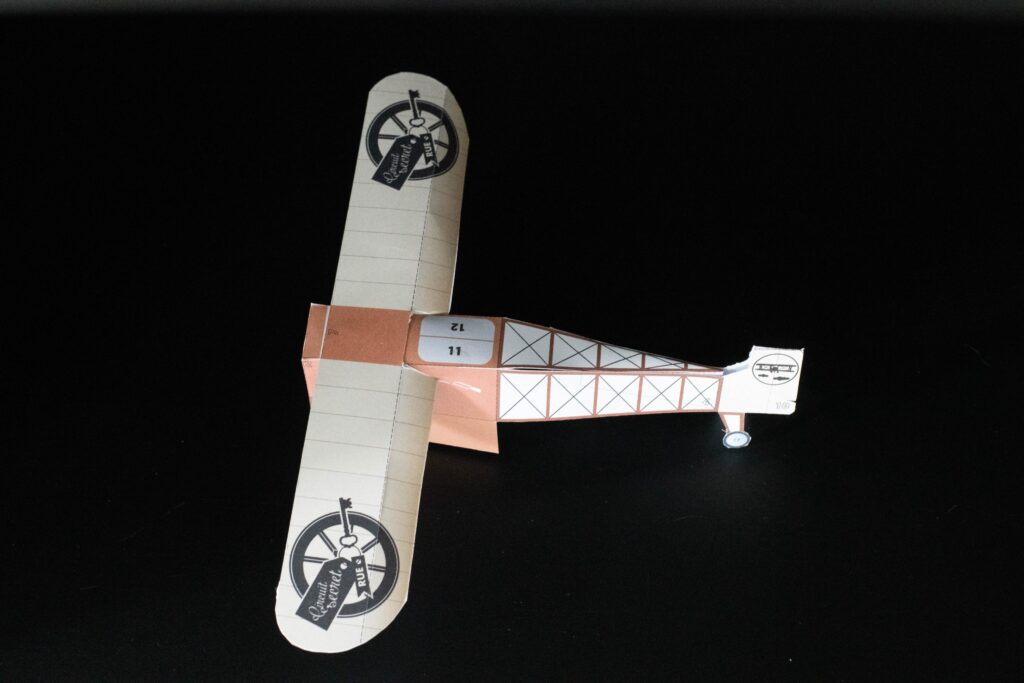
Assembly Instructions – Ferber’s Airplane
Your visit to the Secret Circuit Rue has now come to an end. We hope you enjoyed it!
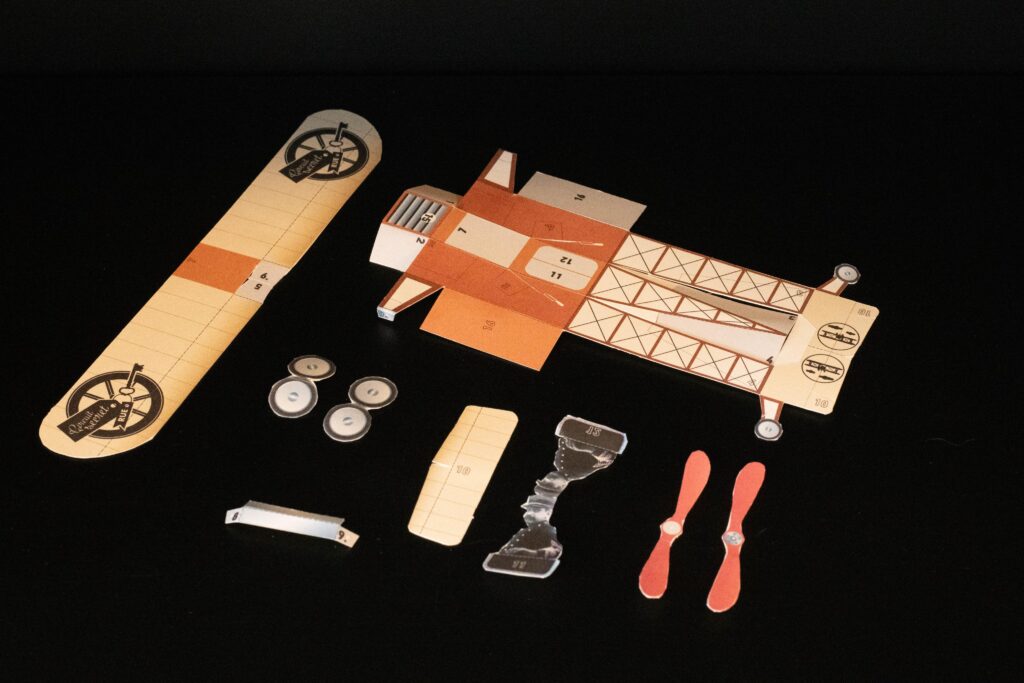
As a keepsake to take home, you discovered a model airplane in the secret trunk to build. Here are the steps to create this craft with your family and extend the adventure at home. A creative moment to share!
What you’ll need: scissors, a utility knife, glue, and for better stability: a toothpick, a cut cork bottle stopper, and a pin.
General Information
-
The dashed lines outside the elements between the wheels (13–14), the propeller (15), and the pilot (11–12) allow the parts to be folded onto themselves before being cut out as a block. They will be glued together afterward.
-
The dashed lines on the figures indicate fold lines.
-
The thin white strips are cutting zones.
-
The grey areas will be hidden by the colored area marked with the same number.
-
On the wing, the dashed lines on the small fins should be slightly folded to match the joint angle with the fuselage, which is to be cut with a utility knife (5–6 and 10).
Cut out all the pieces
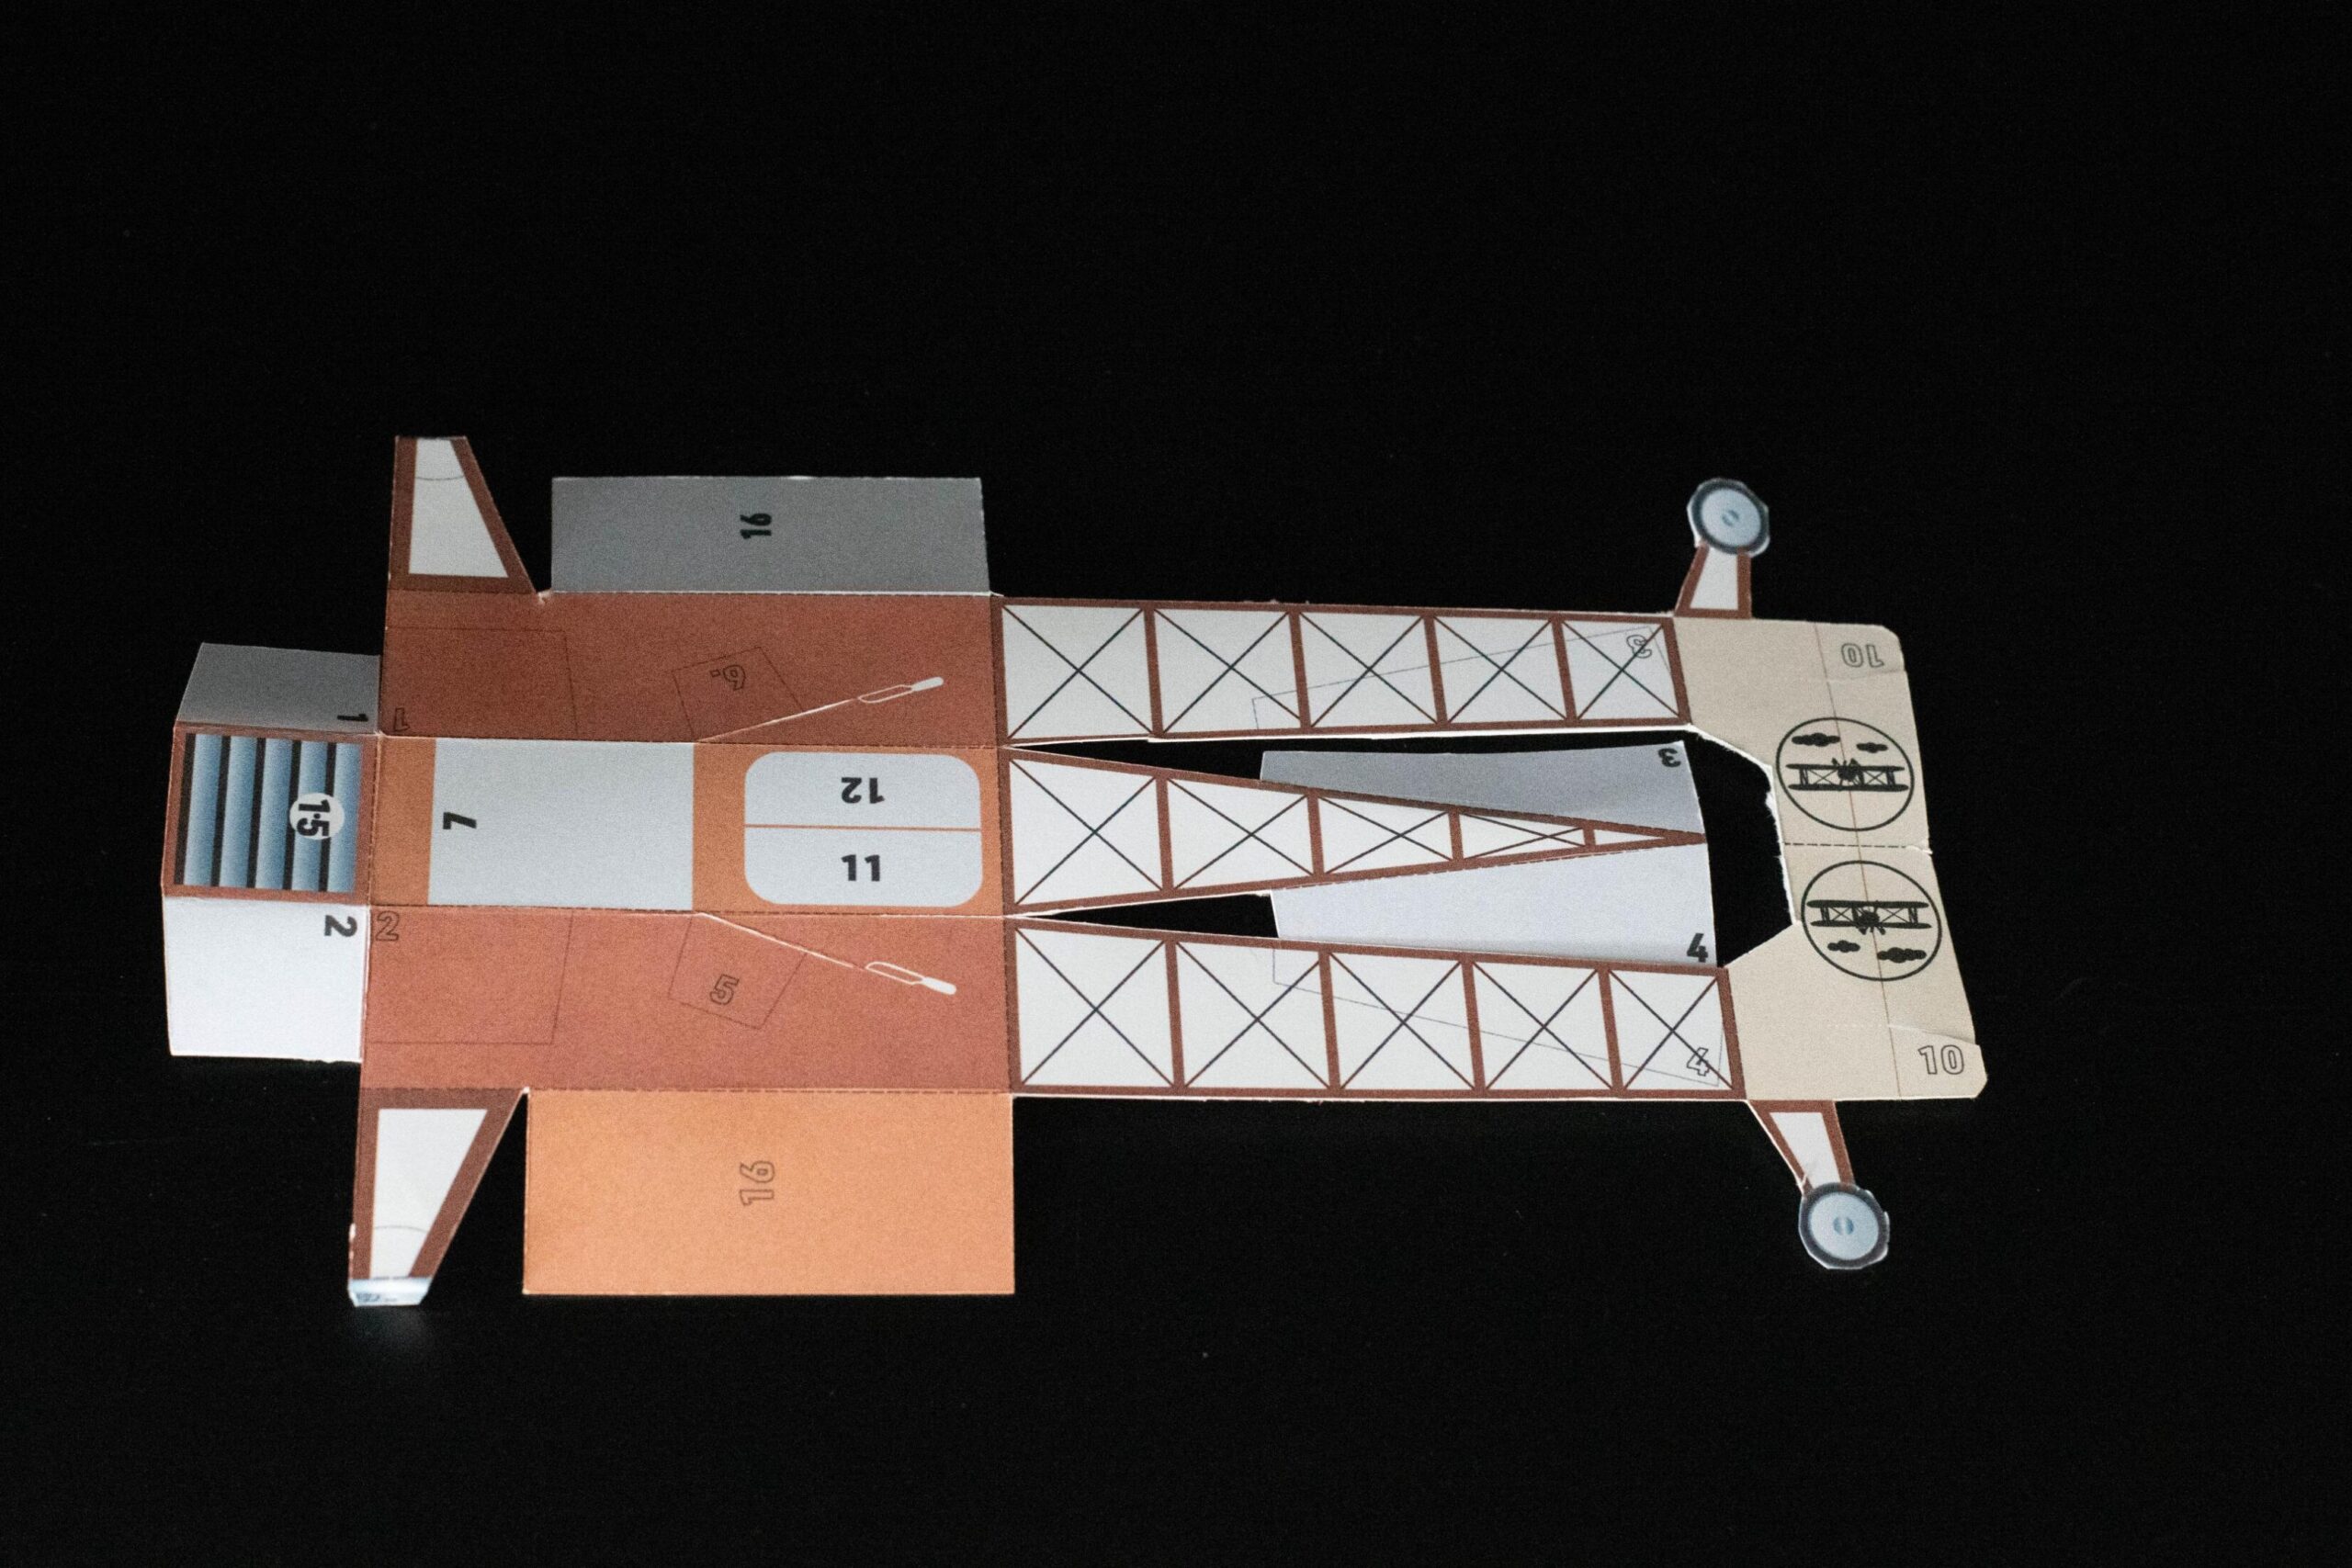
Use a utility knife to cut the white lines at the front of the airplane (1–2), as well as the white areas at the rear of the fuselage (3–4) and on the wings (5–6), as shown on the model template.
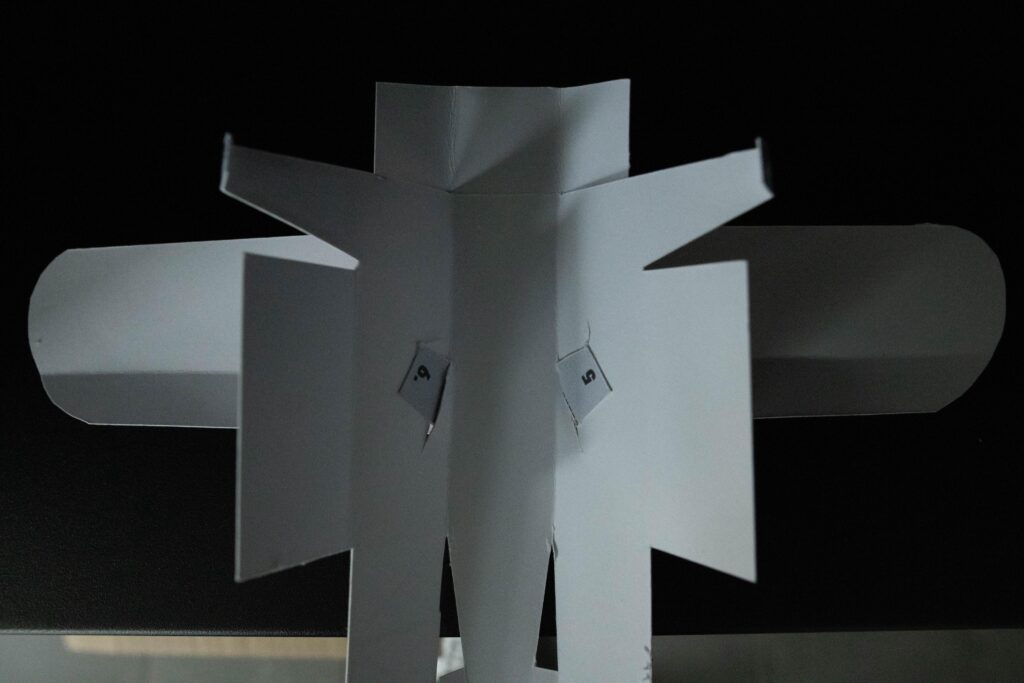
Assemble the wing: Position the center of the wing on the airplane (7), insert the grey parts (5–6) into their respective previously cut slots, and glue parts 5 and 6 on the inside.
At the front of the airplane, apply glue to the grey parts (1–2). Then glue them to the brown parts with the same numbers.
Fold the grey parts at the rear of the fuselage (3–4) along the dashed lines. Then glue them to the white parts with the same numbers.
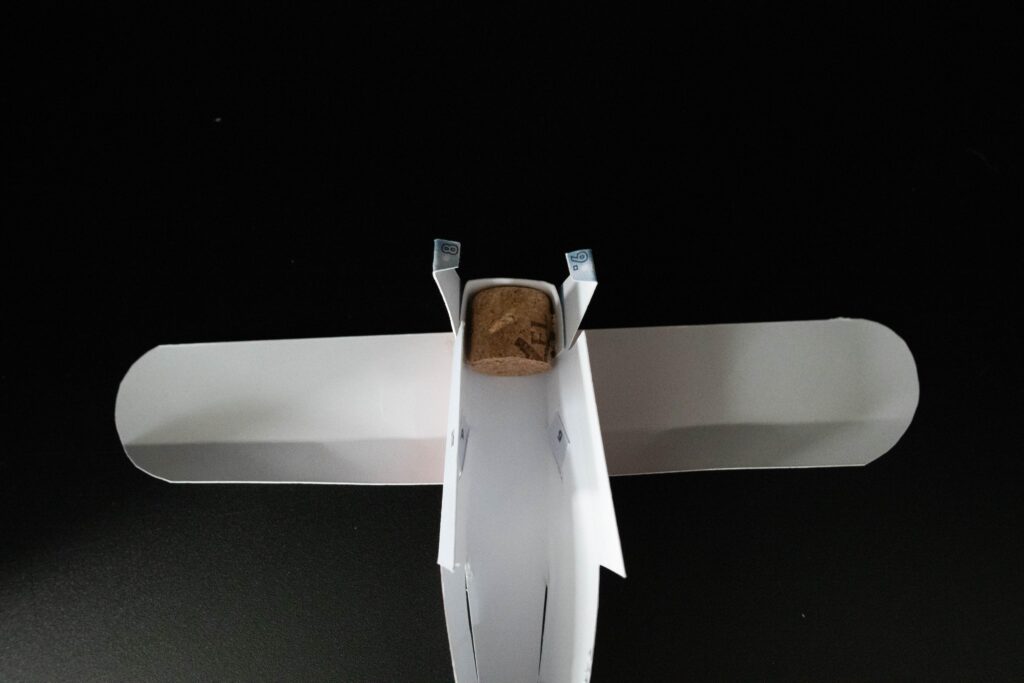
Cut a cork stopper and glue it inside, against the front of the airplane (no. 15).
(Optional – this allows you to insert a pin so the propeller can spin.)
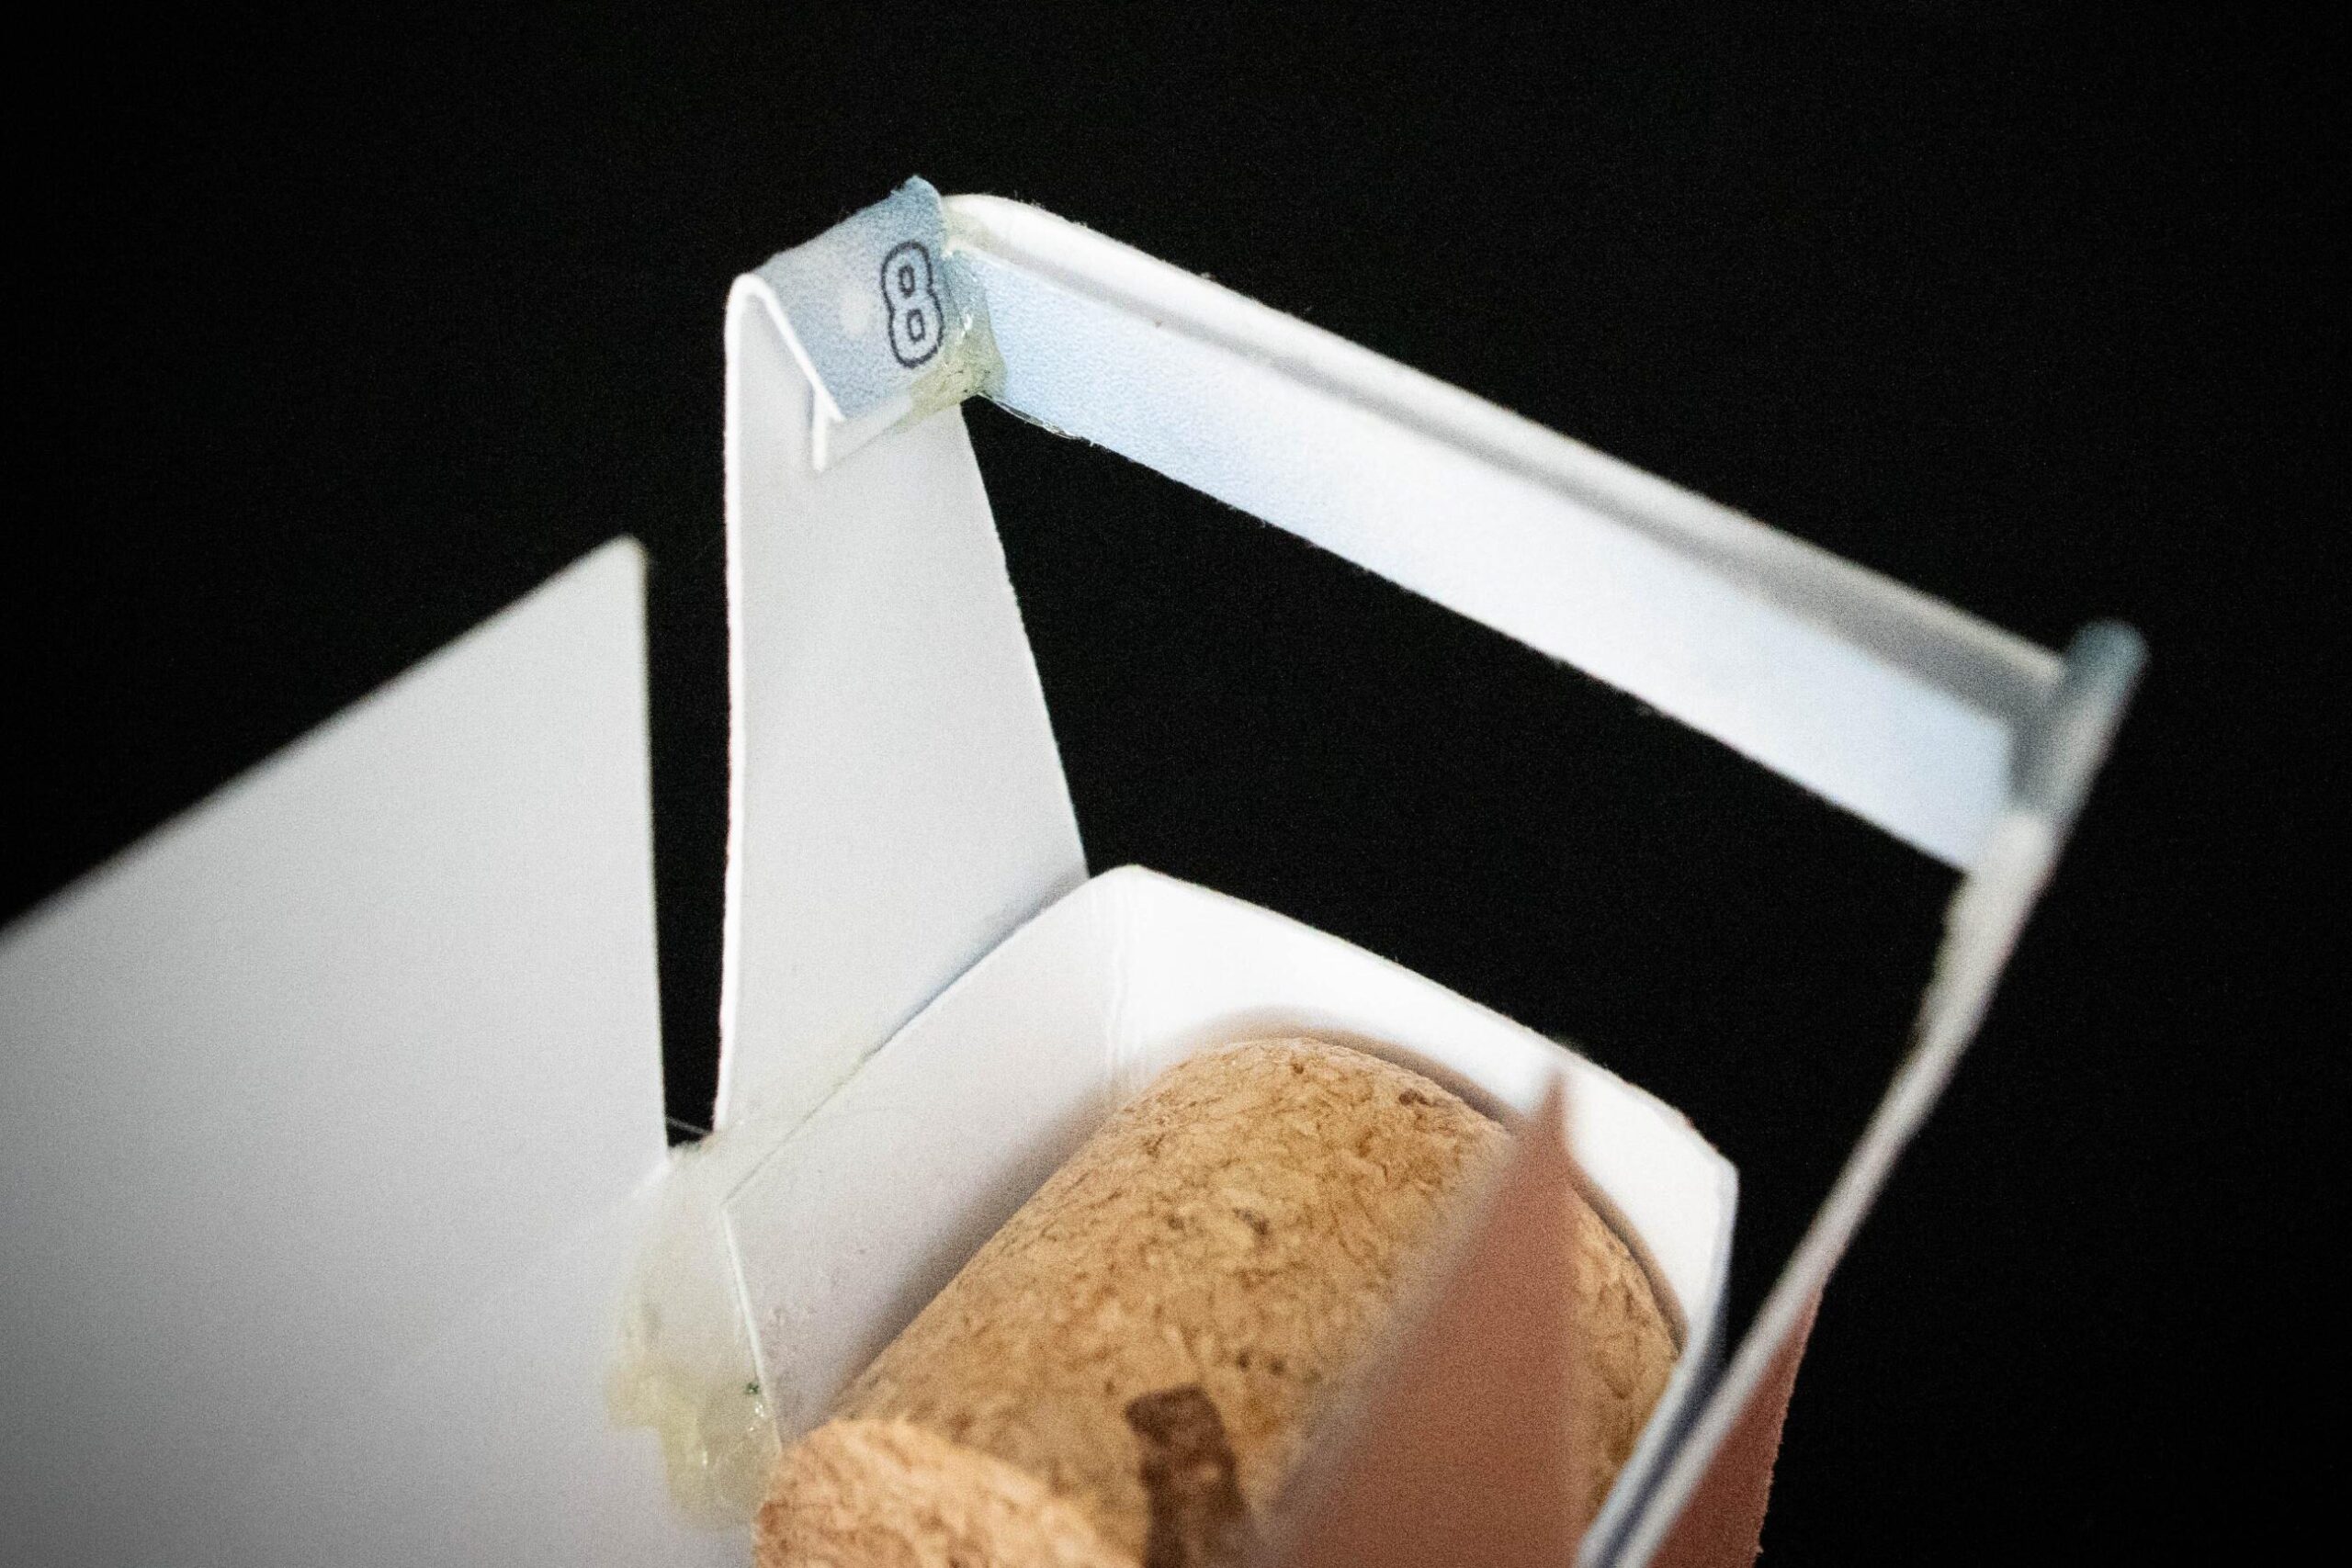
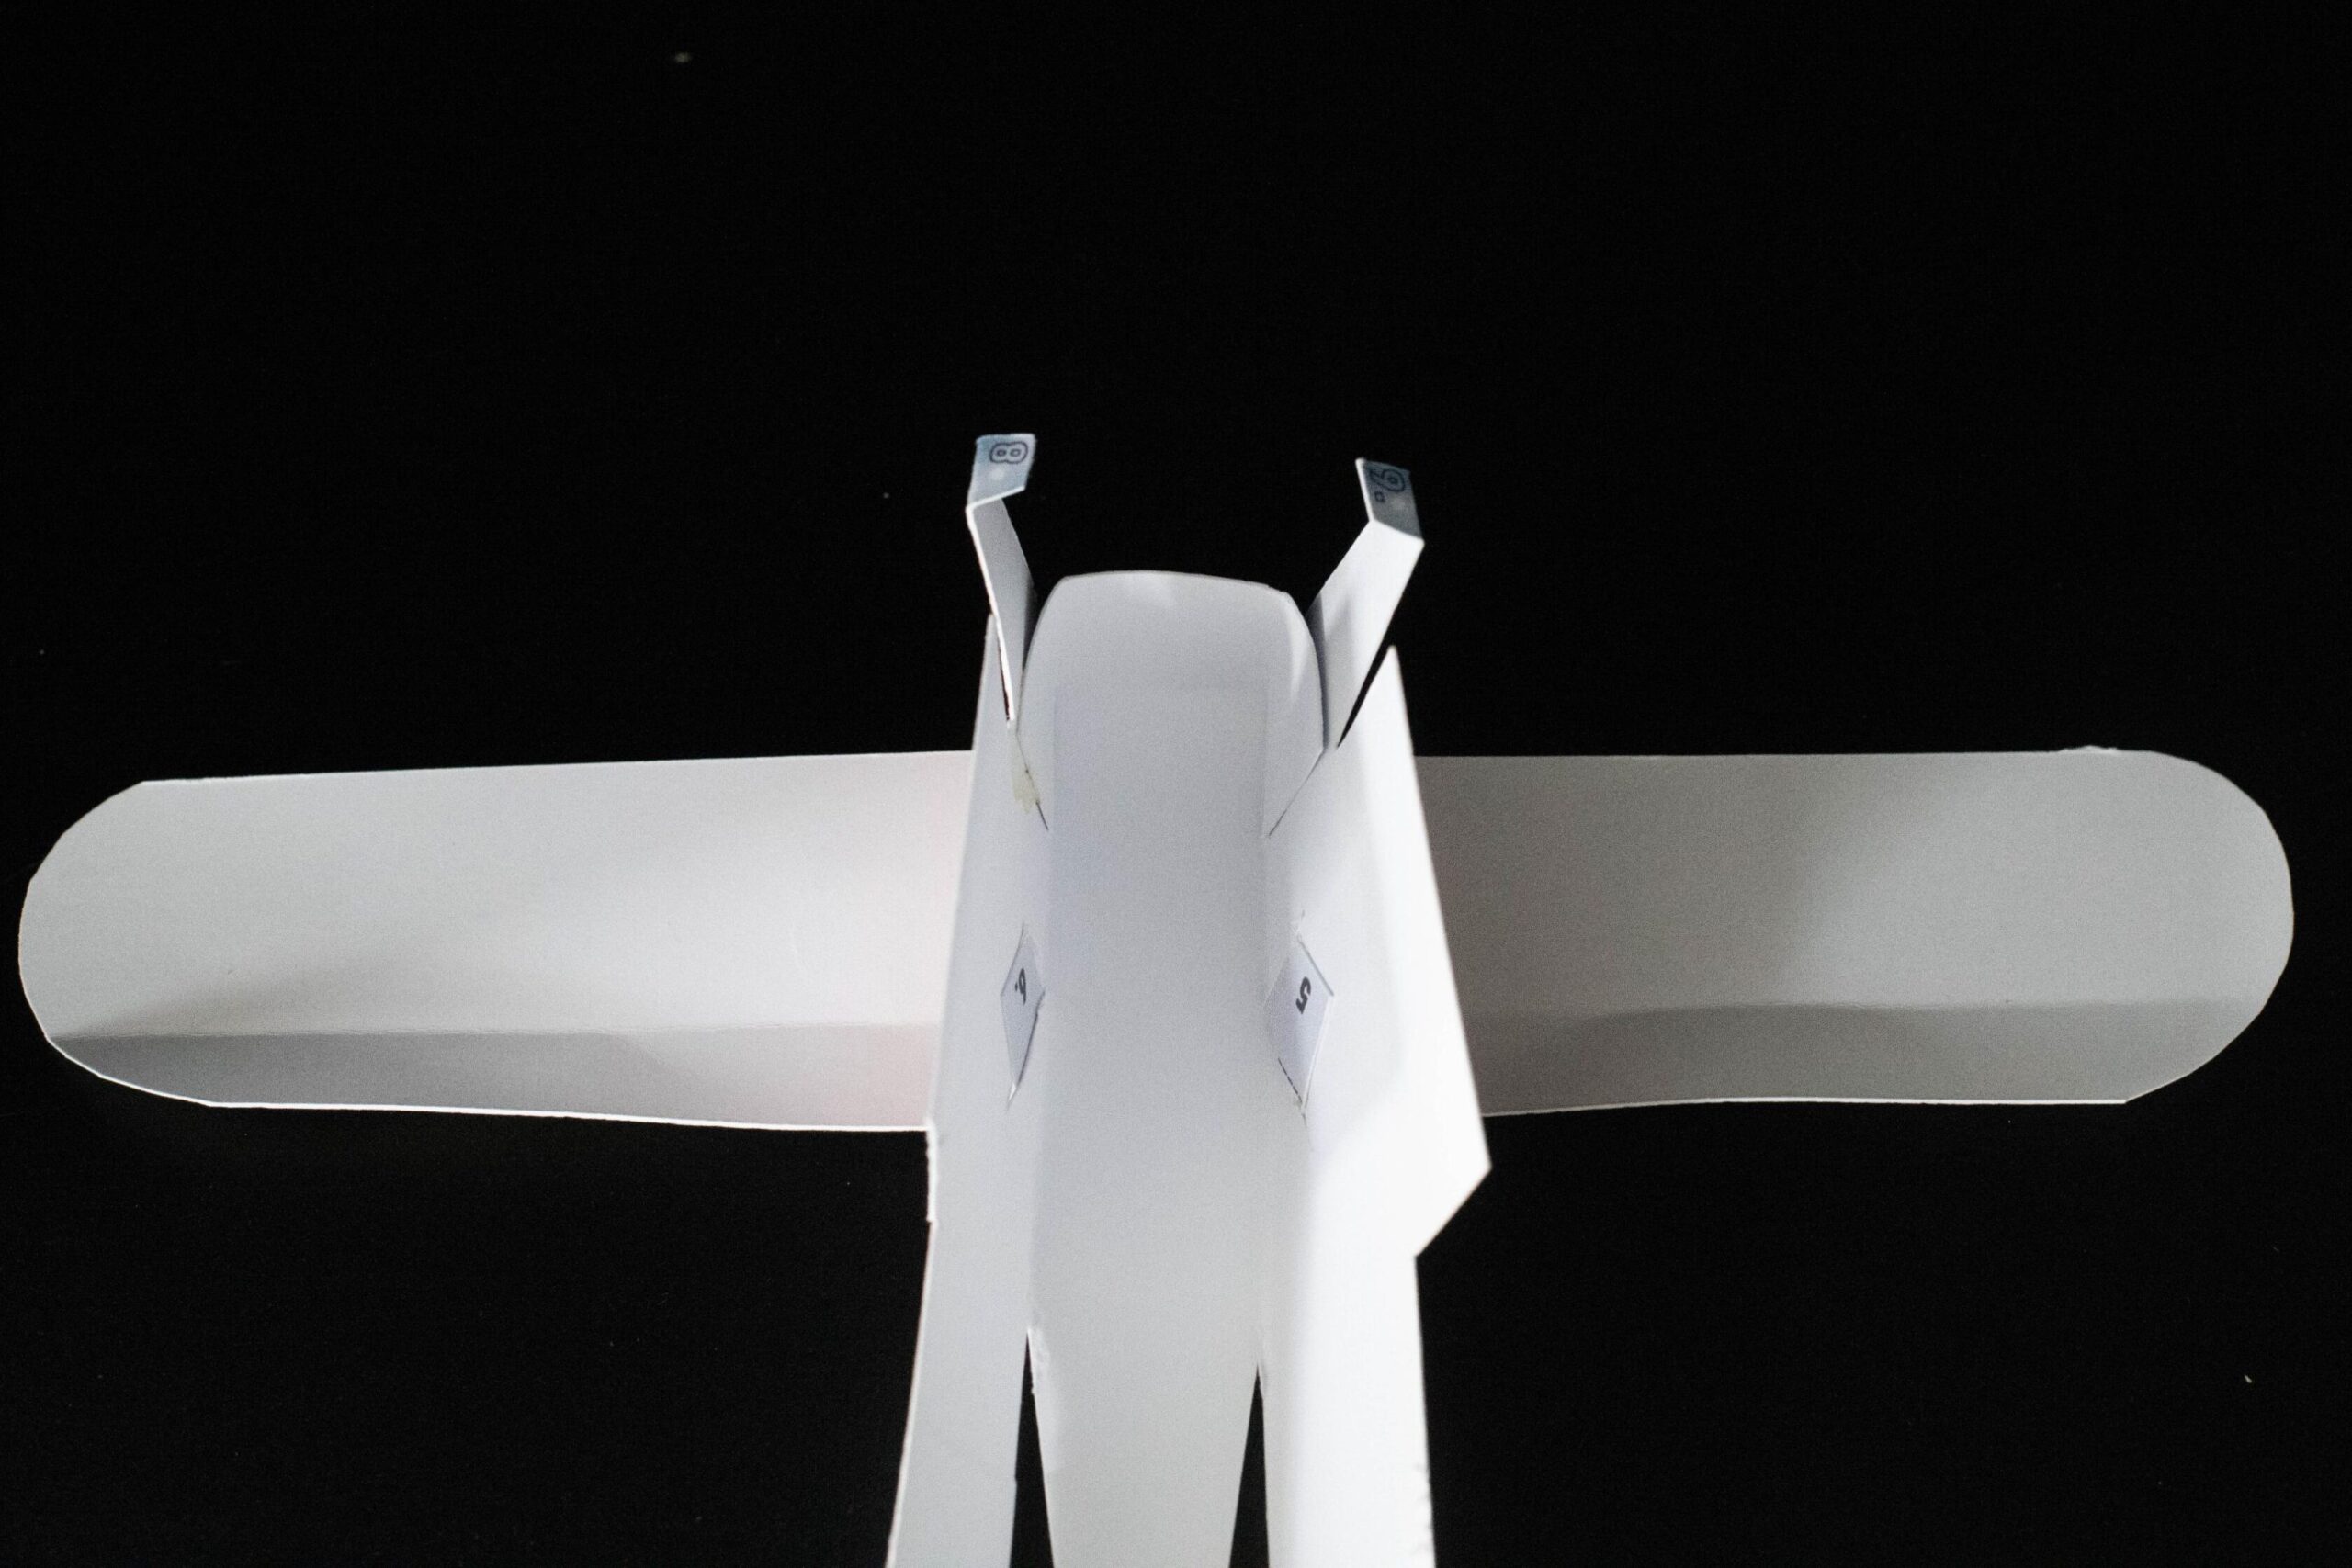
old the wheel supports (8–9) inward onto themselves. Fold the bar piece (8–9) in half along the dashed line, then glue sides 8–9 to the inside of the matching-numbered sides of the wheel supports.
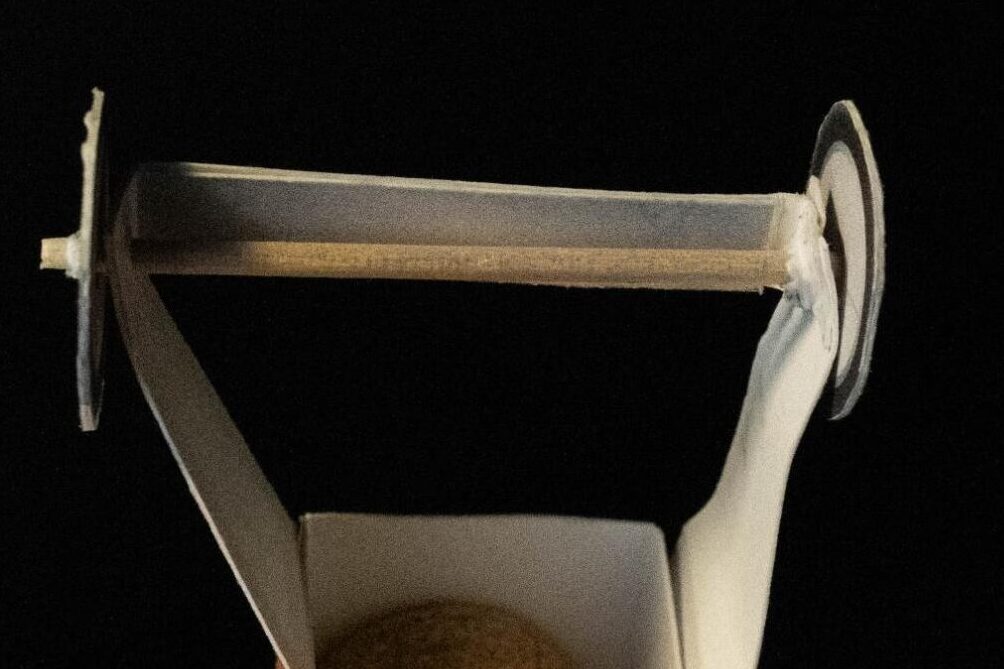
For better stability, insert a toothpick through the front landing gear and the wheels (you can pass it through the pre-pierced wheels).
Glue the front wheels (13–14) together, then attach them to the outside of each side of the landing gear (13’–14’ on the model).
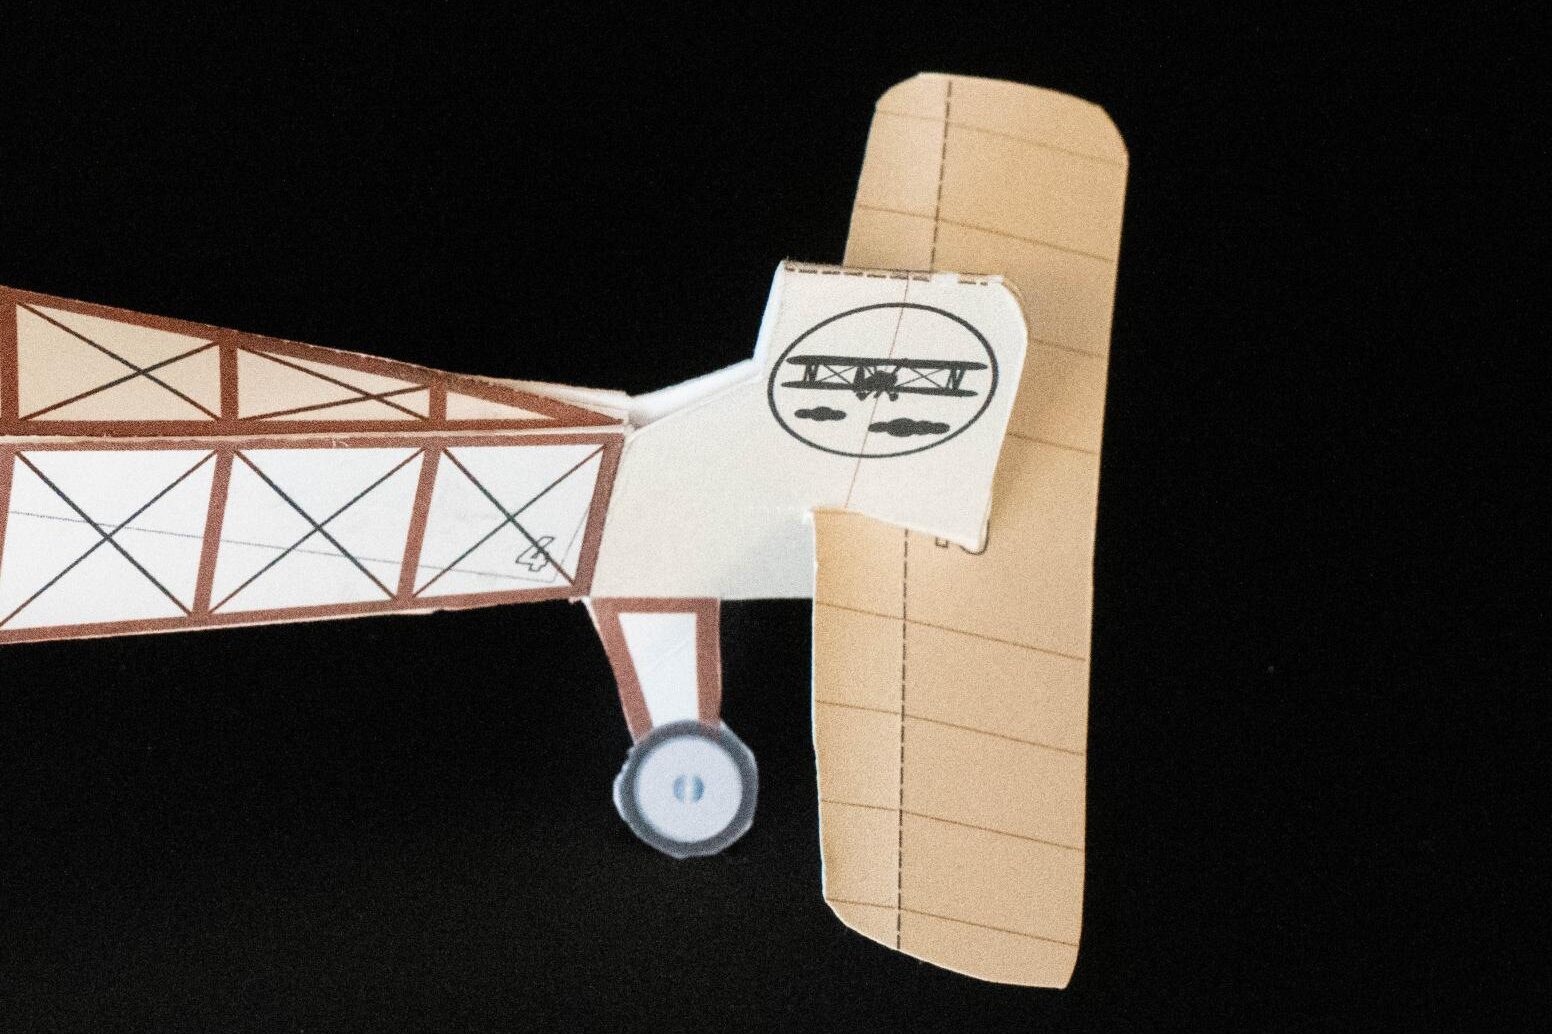
Glue the rear wheel and the tail of the airplane together (10).
Cut along the white lines on the tail and the rear wing (10) to assemble the parts.
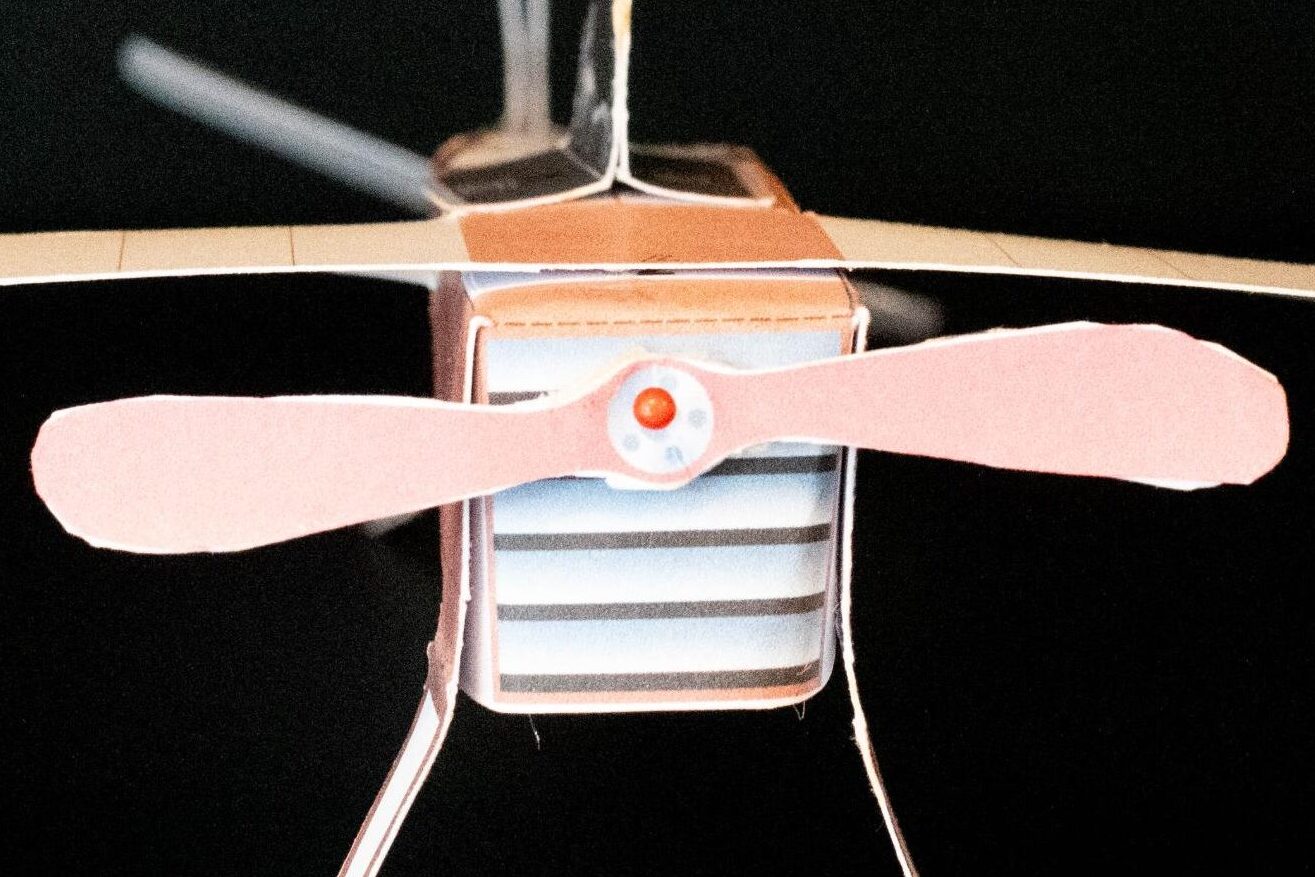
Glue the two parts of the propeller (15) together.
Place the center of the propeller at the front of the airplane (15) and insert a pin through the cork at the center. This will allow the propeller to spin.
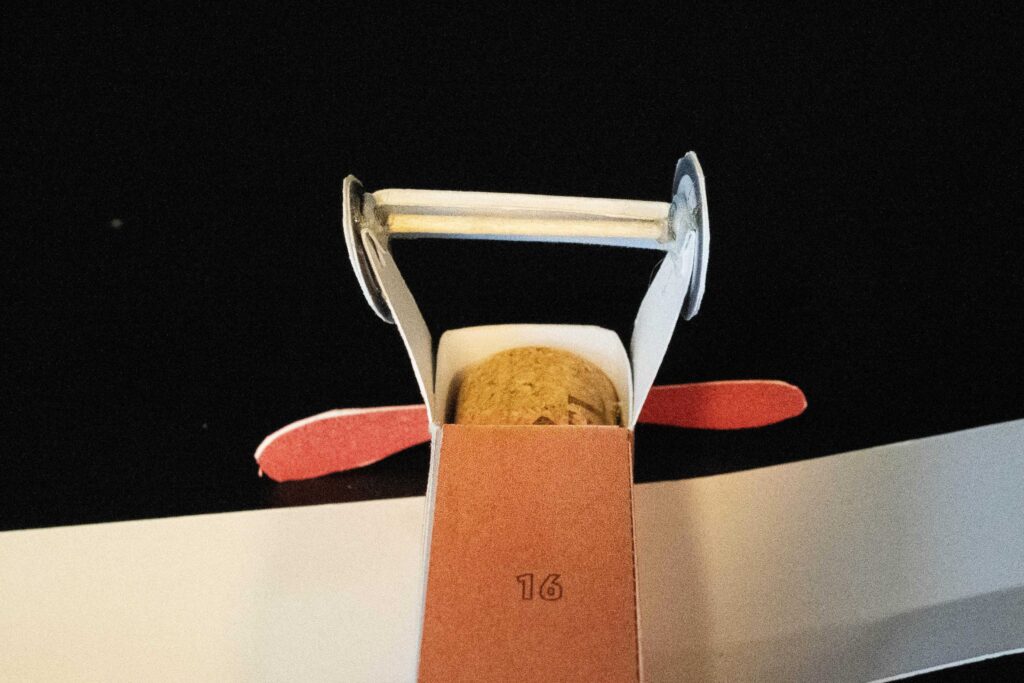
Glue the bottom of the airplane (16), applying glue first on the folded grey part to be on the inside.

Fold the figure of Captain Ferber in half and glue parts 11 and 12 onto the grey areas with the same numbers on the top of the airplane.